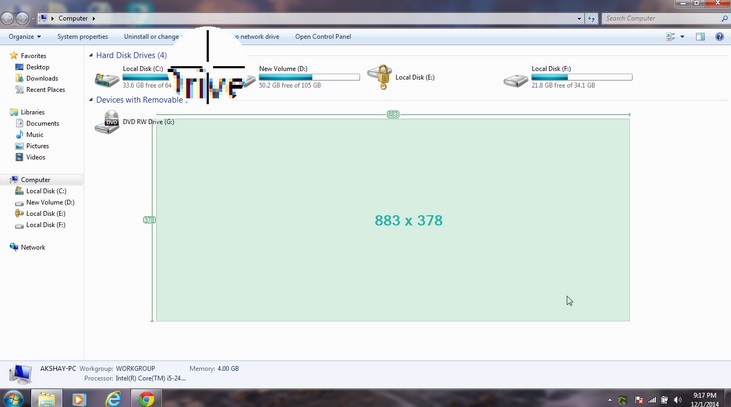
Almost every laptop or computer user has some version of windows operating system installed on his or her device. In the case of Microsoft Windows version windows7, 8, or XP, included is an interesting ability that comes with it that enables users with an option to print screen. This is used for taking an immediate screenshot of whats open on the window display. Specifically it will give a print option showing a screen shot which the user can edit and make a hard copy of the visual display. A problem could arise if you want to take a screenshot of a particular area on you computer screen rather than taking the entire screen screenshot. In that case, you simply need to first take the screenshot using the print screen and then copy and paste it somewhere; crop the particular area that you need.
Another method that could possibly help you to take a screenshot of particular area on windows 7/ 8/ XP. This could be done using a software called Greenshot. Using Greenshot does not require any pasting and cropping of the entire screenshot but could directly help you in your printing need. The below steps will guide you to take a screenshot of particular area on windows 7/ 8/ XP.

Steps to be followed:
Step1: First the software Greenhot needs to be downloaded. Click here to download it.
Step 2: Now open and install this software in your PC.
Step 3: Click on Printscreen button.
Step 4: As you click on the button a ‘+’ sign will be visible. Click on the screen and move your mouse to select that particular area where you want to take the screenshot. Once the area gets selected it becomes blue that refers that the screenshot is taken.
Step 5: Now leave the mouse and a list will be opened.
Step 6: You can select any options that you want from the list to enjoy screenshot of the particular area.
This process is very simple and quick ing helping you get a proper screenshot of a particular area.
Leave a Reply